
Creating Your Dream Space: The Ultimate Guide to Rear Extensions in Bedfordshire
- inquiries18249
- Oct 11, 2025
- 4 min read
Updated: Nov 3, 2025
Understanding Costs and Timelines
As a rule of thumb, a well-specified single-storey rear extension typically lands between £1,800 and £2,800 per m² for the shell and core. The finished figure depends on choices like glazing systems, kitchen specifications, and heating strategies. On-site, straightforward single-storey projects often run 10–16 weeks once design and approvals are complete. Before the build, allow time for drawings, planning (if needed), Party Wall procedures, and ordering long-lead items such as steelwork, glazing, and kitchens.
Permissions in Plain English
Many rear extensions qualify under Permitted Development (PD), which can simplify planning. However, there are limits on depth, height, and materials. Even if your project sits comfortably within PD, it’s sensible to obtain a Lawful Development Certificate to prove compliance for future sales. All projects must satisfy Building Regulations, covering structure, fire safety, energy performance, and electrics. If you share walls or boundaries, expect Party Wall notices and, in some cases, an award—worth building into your timeline.
From Sketch to Shovel: The Journey
Every successful project starts with feasibility. Your designer or builder surveys the site, measures up, and checks for constraints. Drain runs, manholes, nearby trees, and conservation rules can all shift the design. Next comes concept design and budgeting. This is where you weigh up projection depth, roof form, and internal layout against what you want to spend. It’s also when early decisions on glazing, kitchen layout, and heating save money later.
With a concept agreed, the focus shifts to technical drawings and structural design. An engineer sizes steels (RSJs), padstones, and foundations; the drawings spell out insulation levels, drainage changes, and how the new structure knits into the existing house. If Party Wall applies, serve notices early to avoid last-minute delays.
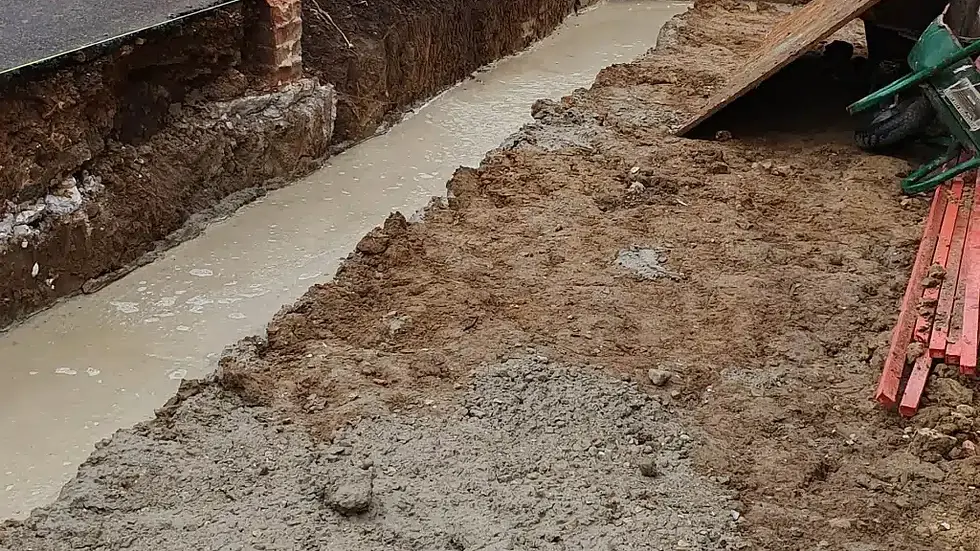
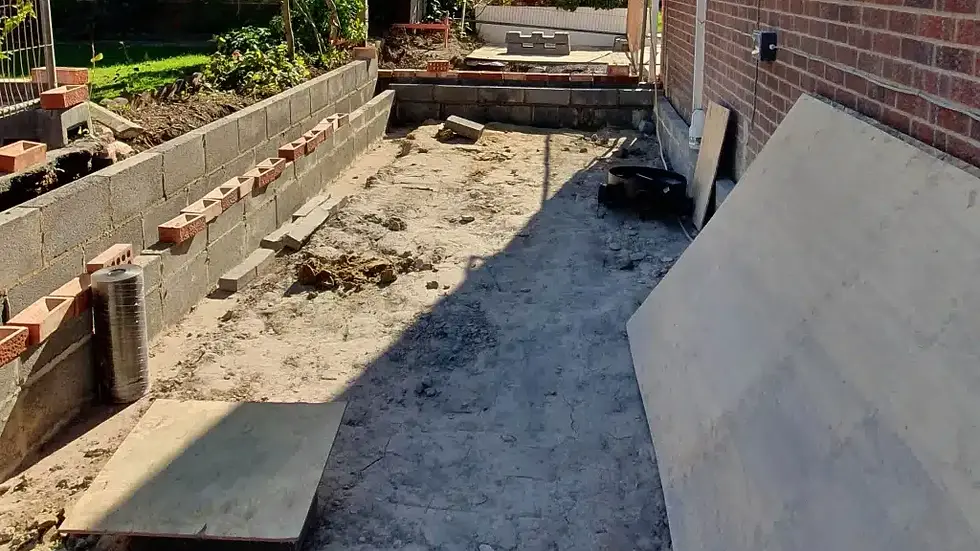
The build phase begins with protection and setup. This includes temporary access routes through the garden, dust protection inside, and safe isolation of services. Groundworks follow, which involve setting out, digging, pouring foundations, and altering or relaying drainage under Building Control inspection. The structure then rises—masonry or timber frame—with steels and lintels installed. Most teams delay breaking through the existing rear wall until later in the programme, keeping your home weather-tight for as long as possible. Roof construction (flat warm roof with rooflights or a pitched solution to match existing), gutters, and parapets come next, followed by windows and doors. First-fix electrics and plumbing, insulation, airtightness detailing, and plastering lead into second-fix: fitting the kitchen, sanitaryware, sockets, flooring, and finally decorating. The project wraps with snagging, certificates, and Building Control completion.
What Makes Costs Move?
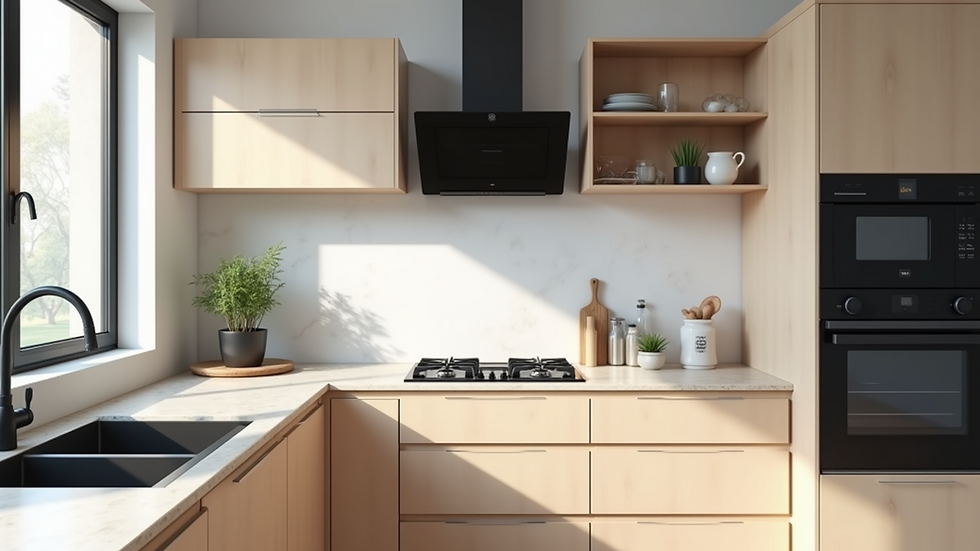
Ground conditions are the biggest wild card. Clay, trees, and nearby drains can force deeper foundations or even piling, so keep a 10–15% contingency. Very wide openings need significant steelwork—sometimes it’s more cost-effective to split a span or adjust the opening size. Glazing choices matter too: slim-frame systems and roof lanterns look fantastic but add thousands; pairing them with standard windows can keep the budget balanced. Kitchens are another lever—bespoke joinery and premium worktops can overtake the shell cost if you let them. Finally, upgrades to electrics or heating (new consumer unit, boiler or cylinder, or MVHR) are often good investments but should be planned in.
Avoidable Headaches
Two themes cause most pain: opening up too early and changing your mind too late. Keep the existing rear wall intact until the last sensible moment to reduce dust and heat loss. Lock the kitchen layout and key finishes before first-fix; mid-build changes ripple through electrics, plumbing, and cabinetry. Drainage deserves a camera survey if there’s any doubt—it’s cheaper than discovering a collapsed run after you’ve poured concrete. And don’t trim insulation or ventilation to save pennies; comfort and condensation risk depend on getting those right.
FAQs in Brief
Do I always need planning permission? Not always—many rear extensions fit PD rules. Your designer should confirm and advise a Lawful Development Certificate even when PD applies.
Will I need to move out? Usually not for single-storey works, though expect disruption; temporary kitchen setups help.
How do I compare quotes fairly? Use the same drawings/specification, request a detailed inclusions/exclusions list, and compare like-for-like.
The Importance of Communication
Effective communication is crucial throughout the project. I make it a point to keep you informed at every stage. Regular updates ensure you know what to expect and when. This transparency builds trust and helps manage expectations.
Choosing the Right Materials
Selecting the right materials can significantly impact the overall look and feel of your extension. I recommend considering sustainable options that not only enhance aesthetics but also contribute to energy efficiency. This choice can lead to long-term savings and a smaller carbon footprint.
Final Thoughts on Your Extension Journey
Embarking on a rear extension project is a significant decision. It’s an opportunity to enhance your living space and increase your property’s value. With careful planning and execution, your dream space can become a reality.
Ready to talk about your project?
We deliver extensions across Herts, Beds, Cambs, Bucks, and Harrow. Book a free site visit and ballpark estimate: inquiries@sclfirm.com.


Comments